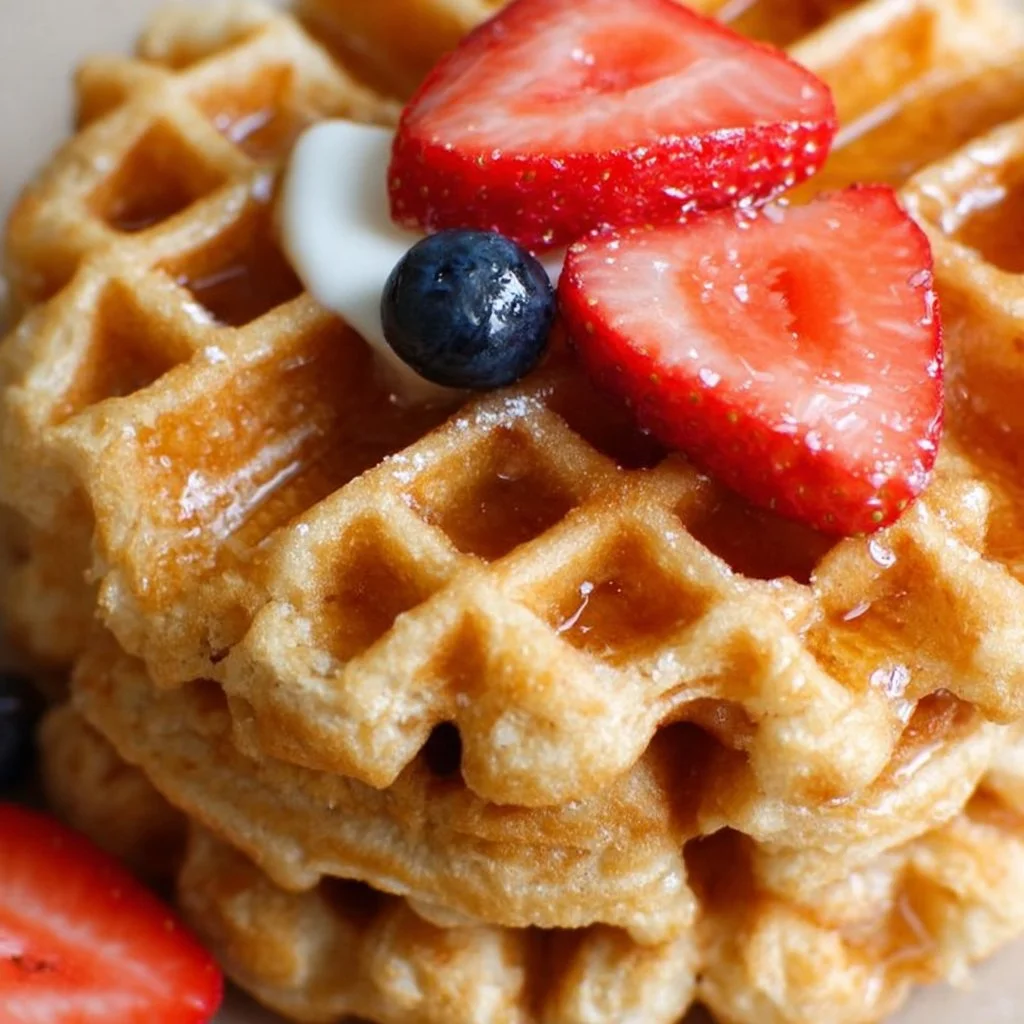
“Easy Healthy Protein Waffles,” I said, laughing as batter splashed a little on the blender rim—this recipe has become my weekend ritual. I remember the first time I made them: ripe banana, creamy cottage cheese, rolled oats, and a scoop of vanilla protein powder all whirling together into a surprisingly silky batter. The aroma of warm waffles always brings everyone to the kitchen. These waffles are simple, satisfying, and built from everyday ingredients like oats, eggs, banana, and cottage cheese, and they pair beautifully with fruit or a drizzle of nut butter. If you love cozy mornings, try adapting ideas from Ninja Creami high-protein recipes for other breakfast treats later in the week.
Why You’ll Love This Recipe
- Deliciously simple: uses pantry staples like rolled oats and a banana for natural sweetness, combined with protein powder and cottage cheese for a filling boost.
- Quick and forgiving: blender-only batter gives consistent texture every time, even if you rush breakfast.
- Versatile and family friendly: kids love the mild banana flavor, while adults get a satisfying protein hit to fuel workouts or busy mornings.
- Comfort without guilt: crispy outside, tender inside, with fewer processed ingredients than store-bought mixes.
- Emotionally satisfying: makes mornings feel special—perfect for cozy weekend breakfasts or a reliable weekday power-up.
Ingredients Needed
- 1 cup rolled oats, dry — use old-fashioned oats for best texture; quick oats work in a pinch but the batter will be thinner.
- 1 scoop protein powder — vanilla or unflavored works best to complement the banana; if using flavored powder, taste the batter and adjust sweetener or fruit accordingly.
- 1 ripe banana — mashed or broken into chunks for the blender; ripe bananas add sweetness and moisture.
- 2 large eggs — provide structure and lift; room temperature eggs blend more smoothly.
- 1/2 cup cottage cheese — full-fat or low-fat both work; cottage cheese adds creaminess and extra protein.
- 1/2 teaspoon baking powder — helps the waffles puff and stay tender.
- 1/2 teaspoon vanilla extract — enhances overall flavor; omit if your protein powder is strongly flavored.
- Pinch of salt — balances sweetness; a small touch is all you need.
(Measurements listed above are optimized for one waffle maker batch; double the recipe for larger families or meal prep.)
Ingredients & Equipment Notes
- Use a high-speed blender for the smoothest batter; a sturdy blender or food processor is fine if you pulse thoroughly.
- A nonstick waffle maker yields the crispiest edges; lightly grease if yours tends to stick.
- If you have texture preferences, swap old-fashioned oats for quick oats to reduce blending time.
- For dairy-free versions, try plant-based cottage cheese alternatives, but expect slight differences in texture.
Instructions – How to Make “Easy Healthy Protein Waffles”
- Preheat your waffle maker.
- Why it matters: A fully preheated waffle iron gives immediate sizzle and creates a crisp exterior while the interior cooks through.
- Visual cues: Indicator lights or steady steam are signs it’s ready; the plates should feel hot to the touch (use caution).
- Mini tip: Lightly brush or spray oil on the plates if your waffle maker is older to prevent sticking.
- In a blender, combine oats, protein powder, banana, eggs, cottage cheese, baking powder, vanilla extract, and salt. Blend until smooth.
- Why it matters: Blending creates a uniform batter so the oats hydrate and the cottage cheese incorporates without lumps.
- Visual cues: The batter should appear silky and slightly thick but pourable; no visible large oat flakes or curds.
- Mini tip: Scrape the sides after a few seconds and blend again; if the batter is too thick to pour, add a tablespoon or two of milk or water.
- Pour the batter into the preheated waffle maker and cook according to the manufacturer’s instructions.
- Why it matters: Cooking time determines crispiness and interior doneness; follow your waffle maker’s guidance while using visual checks.
- Visual cues: Waffles will lift easily when done and have golden edges; steam will reduce as moisture evaporates.
- Mini tip: Resist the urge to peek too early; opening prematurely can tear the waffle. If you like super-crispy waffles, leave in a bit longer but watch carefully.
- Serve warm, optionally with toppings like fresh fruit or syrup.
- Why it matters: Fresh toppings add texture and balance; warm waffles absorb toppings in the best way.
- Visual cues: Waffles should feel firm and hollow-sounding when tapped; toppings should sit nicely on the surface.
- Mini tip: Keep finished waffles on a cooling rack in a low oven (about 200 F / 95 C) if you are making a large batch and want them crispy rather than soggy.

Serving Suggestions & Storage Tips
- Serving ideas:
- Fresh berries and a spoonful of Greek yogurt for tang and creaminess.
- Sliced banana and a drizzle of almond or peanut butter for extra protein and natural sweetness.
- A light dusting of cinnamon and a sprinkle of chopped nuts for crunch.
- Warm fruit compote or stewed apples for a cozy fall twist.
- Pairings:
- A simple green smoothie or a cottage cheese fruit bowl balances the plate.
- For a savory balance, top with cottage cheese, sliced avocado, and a squeeze of lemon for a brunch-style twist.
- These waffles are also great as a base for breakfast sandwiches with eggs and spinach.
- Storage:
- Refrigerate: Store cooled waffles in an airtight container in the fridge for up to 3 days.
- Freeze: Place cooled waffles in a single layer on a baking sheet until firm, then stack with parchment between each and freeze for up to 2 months. This prevents sticking and preserves texture.
- Label: Put date labels on the bag or container so you know when to use them.
- Reheating:
- To re-crisp from fridge: Toast in a toaster or toaster oven on medium until heated through and crisp.
- From frozen: Pop directly into a toaster or toaster oven on a low to medium setting; you may need an extra cycle compared with packaged waffles.
- Oven method: Arrange on a baking rack over a sheet pan and bake at 350 F (175 C) for 8 to 12 minutes for even heating and crisp edges.
- Microwave: Quick and convenient but can soften the exterior; microwave for 20 to 40 seconds then finish in a skillet or under the broiler briefly to restore crispness.
In case you want snack pairings beyond breakfast, these waffles make great grab-and-go items for after school; try pairing them with ideas from after-school snack ideas to build balanced plates.
Helpful Notes & Variations
- Substitutions:
- Oats: Use gluten-free rolled oats if you need a gluten-free option, ensuring your protein powder is gluten-free as well.
- Protein powder: Swap for collagen or plant-based protein, but expect a slightly different texture. For unflavored protein, increase vanilla or add a touch of sweetener if desired.
- Eggs: For an egg-free version, use a chia or flax egg (1 tablespoon chia/flax mixed with 2.5 tablespoons water per egg) and add a little extra baking powder for lift.
- Dietary adaptations:
- Lactose-sensitive: Choose lactose-free cottage cheese or a dairy-free alternative; cottage cheese contributes to tenderness and protein, so compensate with a splash more liquid if it’s thicker.
- Vegan: Make a more advanced vegan version by using plant-based protein powder, a dairy-free cottage cheese substitute, flax eggs, and a bit more baking powder; texture will vary.
- Lower carb: Reduce banana to half and add a tablespoon of nut flour to keep structure while lowering sugars.
- Flavor add-ins:
- Spices: Cinnamon, nutmeg, or cardamom work wonderfully in small amounts.
- Mix-ins: Fold in dark chocolate chips, chopped nuts, or a handful of blueberries after blending for bursts of flavor.
- Citrus: Add a teaspoon of lemon or orange zest to brighten the batter.
- Common mistakes and how to avoid them:
- Batter too runny: Add an extra tablespoon of oats or a little less liquid; let the batter sit 5 minutes to thicken.
- Waffles sticking: Ensure the waffle iron is fully preheated and lightly greased if needed.
- Soggy waffles: Cook longer or finish in the oven on a rack to dry the surface; serve immediately with toppings.
- Overblending: While blending is key, overprocessing could warm the batter and make waffles denser; blend just until smooth and pour promptly.
For inspiration with dessert-style, protein-rich chilled treats, try pairing flavors similar to sea salt honey protein ice cream when serving as a fun brunch option.
Conclusion
These waffles stand out because they take humble, everyday ingredients and transform them into a nourishing breakfast that feels indulgent without sacrificing health. They are quick to make, adaptable to many diets, and perfect for meal prep or a leisurely weekend breakfast. If you want more ideas for high-protein waffle inspiration, check out this helpful guide to High Protein Waffles (33 grams of protein!) – Eat the Gains, or explore a different take on protein-packed waffles at Protein Waffles (Easy & 45 grams protein) – The Big Man’s World. Try this recipe this weekend and share how you topped them—I love hearing about flavor twists people discover.
Frequently Asked Questions
Can I make this recipe ahead of time?
Yes. You can make the waffles ahead by cooking them completely, cooling them on a wire rack, and then storing them in an airtight container in the fridge for up to 3 days or freezing for up to 2 months. For best texture when serving later, reheat in a toaster, toaster oven, or oven to restore crispness.
How should I store leftovers and how long do they last?
Leftover waffles should be cooled completely before storing. In the refrigerator, use an airtight container and consume within 3 days. For longer storage, freeze them in a single layer until firm, then stack with parchment paper between each waffle and store in a freezer bag for up to 2 months.
What is the best way to reheat or serve this recipe after storage?
For the best texture, reheat waffles in a toaster or toaster oven until heated and crisp. If reheating from frozen, toast directly from the freezer on a medium setting and add an extra cycle if needed. For batches, reheat on a wire rack in a 350 F oven for 8 to 12 minutes. Avoid microwaving alone when you want crisp edges; if using the microwave, finish in a skillet or under a broiler briefly.
Can I adjust or substitute ingredients to fit my preferences?
Absolutely. You can swap oats for gluten-free oats, choose plant-based or collagen protein powder, use a dairy-free cottage cheese substitute, or replace eggs with flax or chia eggs for egg-free diets. Keep in mind textural changes: cottage cheese and eggs both contribute to tenderness and structure, so adjust liquids and leavening accordingly.
Do you have tips to ensure the best texture and flavor every time?
Yes. Use a ripe banana for natural sweetness and moisture. Blend until smooth but avoid overheating the batter. Preheat your waffle maker fully for crisp edges, and allow the waffles to cook until steam decreases. Store and reheat properly to maintain texture. Lastly, taste and adjust flavoring—vanilla and a pinch of salt make a big difference, and a dash of cinnamon can elevate the flavor without extra sweetener.
Easy Healthy Protein Waffles
Ingredients
Method
- Preheat your waffle maker.
- In a blender, combine oats, protein powder, banana, eggs, cottage cheese, baking powder, vanilla extract, and salt. Blend until smooth.
- Pour the batter into the preheated waffle maker and cook according to the manufacturer's instructions.
- Serve warm, optionally topping with fresh fruit or syrup.