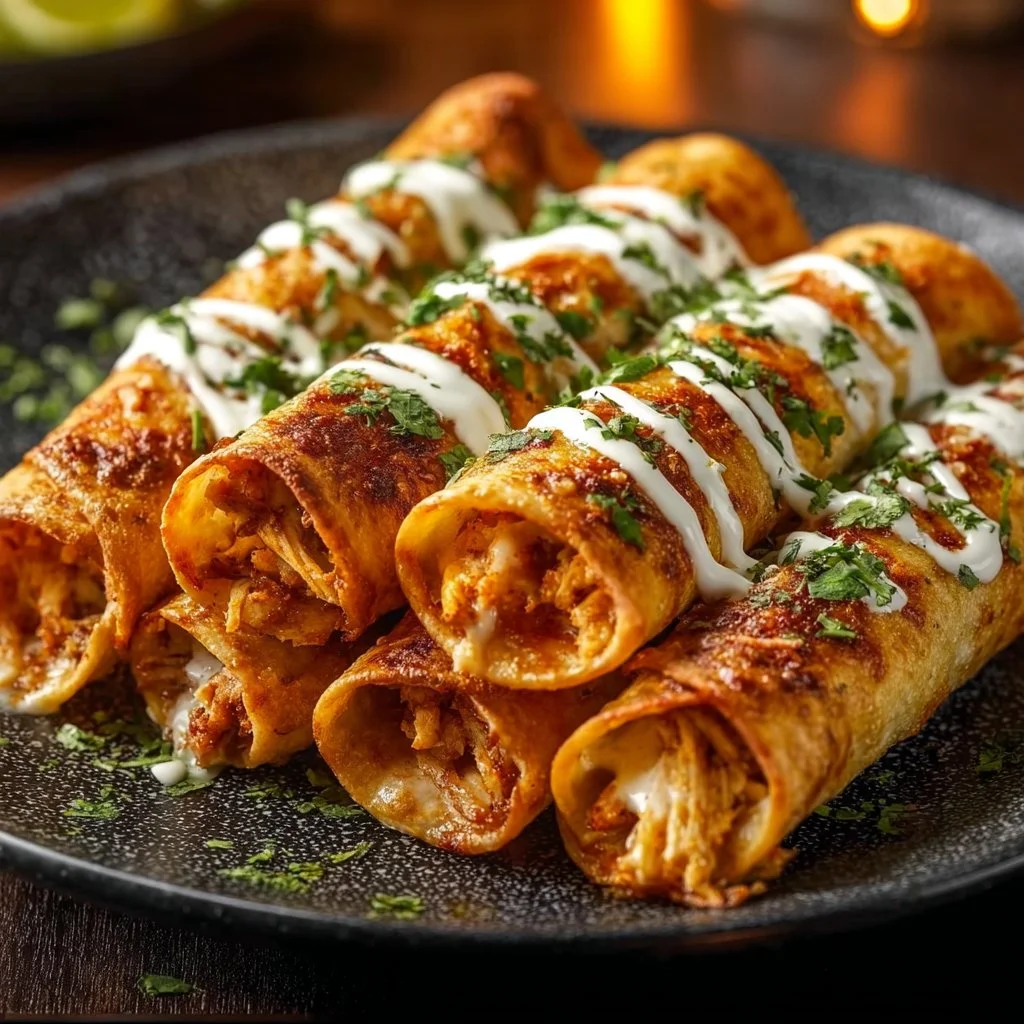
There’s something undeniably comforting about a platter of Crispy Chicken Taquitos straight out of the pan: the satisfying crunch, the warm, smoky-sweet filling, and that cozy feeling of a hand-held, made-from-scratch meal. These taquitos are especially lovely in the cooler months or during a bright, sunny weekend when seasonal chiles and fresh cilantro are at their best. If you love recipes that are equal parts simple and indulgent, you’ll find this version irresistible — it balances shredded chicken, melty cheese, a hint of chipotle heat, and a touch of honey for depth. For another take on crunchy taquitos and inspiration, check out this handy crispy chicken taquitos guide.
Ingredients & Equipment
Here’s everything you’ll need to make about 10–12 taquitos. Exact quantities are listed below so you can shop and prep with confidence.
- 2 cups shredded cooked chicken
- 1 cup shredded cheese (cheddar or Mexican blend)
- 1/2 cup black beans (optional)
- 1/4 cup chopped green onions
- 1/4 cup chopped cilantro
- 10–12 corn tortillas
- 1/2 cup chipotle in adobo sauce (or to taste)
- 1/4 cup honey
- Salt and pepper to taste
- Oil for frying (vegetable, canola, or peanut oil)
Notes:
- If corn tortillas tear easily, warm them a little to make them pliable (see directions below).
- Chipotle in adobo can be spicy — start with less if you prefer a milder kick and add more to taste.
- Black beans are optional but add body and fiber; you can substitute with corn or roasted poblano for seasonal flair.
- Honey contrasts the smoky chipotle beautifully — you can swap for maple syrup if you prefer.
Helpful tools:
- Large mixing bowl for combining the filling
- Skillet or frying pan for shallow frying
- Small pan or griddle to warm tortillas
- Baking tray or sheet pan to keep rolled taquitos warm (or to bake instead of fry)
- Tongs and slotted spoon for frying and flipping
- Instant-read thermometer to check oil temperature (ideal frying temp ~350°F / 175°C)
- Blender or food processor if you want to puree the chipotle and honey into a smoother sauce
If you enjoy experimenting with other crunchy handhelds, you might also like a cheesy beef variation — see this crispy cheesy beef taquitos recipe for ideas you can borrow.
Step-by-Step Instructions (with tips)
Follow these directions for crisp, well-seasoned taquitos. Below I use your base steps and expand them so each moment in the kitchen feels approachable and successful.
-
Combine the filling: In a large bowl, combine 2 cups shredded cooked chicken, 1 cup shredded cheese, 1/2 cup black beans (if using), 1/4 cup chopped green onions, and 1/4 cup chopped cilantro. Toss gently so the ingredients are evenly distributed.
Tip: If your chicken is cold and clumpy from the fridge, warm it briefly in a microwave or skillet to help it absorb the chipotle-honey mix better.
-
Add the sauce: Stir in 1/2 cup chipotle in adobo sauce and 1/4 cup honey; mix well. Season with salt and pepper to taste.
Tip: For a smoother, more evenly flavored filling, blend the chipotle and honey in a small blender or with an immersion blender before adding to the chicken. If you prefer less heat, use 2–3 tablespoons of the adobo sauce and increase honey slightly.
-
Heat the oil: Pour oil into a skillet to a depth of about 1/2 inch and heat over medium until it reaches roughly 350°F (175°C). If you don’t have a thermometer, test by dropping a small piece of tortilla into the oil — it should sizzle and bubble steadily without smoking.
Tip: Use a heavy-bottomed skillet to maintain steady temperature. If the oil smokes, reduce the heat; if the oil is too cool, taquitos will absorb oil and become greasy.
-
Warm the tortillas: Warm tortillas in a separate pan or griddle for 10–20 seconds per side so they’re pliable and won’t crack when you roll them.
Tip: Stack warmed tortillas and wrap them in a clean kitchen towel to keep warm and soft while you roll. You can also microwave a stack of tortillas covered with a damp paper towel for about 20–30 seconds.
-
Fill and roll: Place a few tablespoons of the chicken mixture onto each tortilla near one edge. Roll tightly and tuck the seam underneath so they hold their shape in the hot oil.
Tip: Don’t overfill — about 2–3 tablespoons per tortilla is ideal. Secure loosely with a toothpick if needed, but remove it before serving or warn diners about it.
-
Fry until golden: Fry taquitos seam-side down first, turning every 1–2 minutes so each side gets golden brown and crispy. This should take about 4–6 minutes total depending on size and oil temperature.
Tip: Work in batches and don’t crowd the pan; crowding drops the oil temperature. Transfer finished taquitos to a paper towel-lined tray to drain.
-
Drain and serve: Let the taquitos rest briefly on paper towels to remove excess oil, then serve immediately with your favorite dipping sauces.
Tip: For an oven-finish option, place rolled taquitos seam-side down on a baking tray, brush lightly with oil, and bake at 425°F (220°C) for 12–15 minutes or until crisp. This is a great lower-oil alternative while keeping crunch.

Variation notes and flavor ideas:
- Roasted vs. boiled chicken: Roast a whole chicken or bake chicken breasts with salt, pepper, and a bit of oil for deeper flavor. Boiling gives mild, tender meat that’s great for soaking up sauces. Both methods work well; choose based on time and flavor preference.
- Vegetarian swap: Replace chicken with shredded jackfruit or extra black beans and roasted sweet potato for a hearty vegetarian taquito.
- Cheese choices: Mexican blend melts beautifully, while sharp cheddar gives more tang. Try queso fresco crumbled on top just before serving for a fresh touch.
For a playful twist on crunchy chicken dishes that leans into tangy, herbed coatings, check out this crispy dill pickle parmesan chicken recipe — some of the techniques and flavor contrasts translate well to taquitos.
Storage, Freezing & Make-Ahead Tips
Taquitos are great for make-ahead planning. Here’s how to keep them tasting fresh whether you’re storing, freezing, or prepping for a party.
Short-term storage
- Refrigerate cooled taquitos in an airtight container for up to 3–4 days.
- To re-crisp, place on a baking sheet and reheat in a 375°F (190°C) oven for 8–10 minutes, flipping halfway through. An air fryer works well too—3–5 minutes at 375°F.
Freezing
- Flash-freeze un-fried rolled taquitos on a tray until solid (1–2 hours), then transfer to a freezer-safe bag or container. They’ll keep well for 2–3 months.
- Fry or bake from frozen: bake at 425°F for 18–22 minutes or air fry at 375°F for 10–12 minutes, turning once.
Make-ahead and portioning
- Assemble the filling a day ahead and store it in the fridge. Roll tortillas just before frying for the best texture.
- For gatherings, keep assembled taquitos on a tray in the fridge, covered lightly, and fry in batches while guests arrive.
If you enjoy preparing crunchy make-ahead mains, you may find inspiration in this other savory crisp-chicken recipe collection here: crispy dill pickle parmesan chicken variations.
How to Use / Serve This Dish
Crispy Chicken Taquitos are versatile — serve them as an appetizer, weeknight dinner, or party finger food. Here are serving ideas and pairings that elevate the meal:
- Dips: Classic choices include guacamole, sour cream, salsa verde, pico de gallo, or a smoky chipotle ranch. A simple lime crema (sour cream + lime juice + a pinch of salt) brightens the plate.
- Sides: Fresh cabbage slaw, Mexican street corn (elote), or a simple mixed green salad with citrus vinaigrette balance richness.
- Plating ideas: Arrange taquitos on a platter with small bowls of sauces, a pile of chopped cilantro, lime wedges, and pickled jalapeños for color and contrast.
- Bowl option: Turn the filling into a taquito bowl by crisping the tortilla pieces and serving the filling over rice and beans with toppings.
Drink pairings: A crisp lager, light margarita, or hibiscus agua fresca pairs nicely with the smoky, slightly sweet profile of these taquitos.
FAQ
1. Can I bake or air-fry these taquitos instead of frying?
Yes — brush each rolled taquito lightly with oil and bake at 425°F (220°C) for 12–15 minutes, flipping halfway, until golden and crisp. In an air fryer, cook at 375°F (190°C) for 8–12 minutes, turning once. Baking or air-frying reduces oil and still delivers a satisfying crunch.
2. What can I use as a substitute for chipotle in adobo?
If you don’t have chipotle in adobo, use a combination of smoked paprika (for smokiness), a dash of cayenne or chili powder (for heat), and a bit of tomato paste or mild salsa for body. Adjust honey to keep that sweet-smoky balance.
3. How long do cooked taquitos keep in the fridge?
Stored in an airtight container, cooked taquitos will stay good for 3–4 days. Re-crisp them in the oven or air fryer for best texture. Avoid microwaving for long periods as it makes them soggy.
4. Can I make these gluten-free or dairy-free?
These taquitos are already gluten-free if you use corn tortillas (check labels to ensure they’re truly gluten-free). For dairy-free, omit the cheese or substitute with a plant-based melting cheese. You may want to add extra green onions or a drizzle of lime crema to make up for some richness.
Conclusion
There’s a warmth to Crispy Chicken Taquitos that makes them perfect for sharing: they’re crunchy, smoky, just a bit sweet, and endlessly adaptable to seasonal produce and pantry staples. Whether you fry, bake, or air-fry them, these taquitos deliver big flavor with simple steps — a satisfying project for a cozy night in or a festive appetizer for friends.
For another excellent step-by-step baked version that’s great when you want a lighter approach, see this Easy Chicken Taquitos – Tastes Better From Scratch, and if you’re curious about baked or air-fryer techniques with a slightly different spin, check this Homemade Chicken Taquitos (Baked or Air Fryer) for extra tips and inspiration. Try the recipe, make it your own, and share your favorite dipping sauce — I’d love to hear how yours turned out!
Crispy Chicken Taquitos
Ingredients
Method
- In a large bowl, combine the shredded chicken, cheese, black beans, green onions, and cilantro. Toss gently.
- Stir in the chipotle in adobo and honey; mix well. Season with salt and pepper to taste.
- Pour oil into a skillet to a depth of about 1/2 inch and heat over medium until it reaches roughly 350°F (175°C).
- Warm tortillas in a separate pan or griddle for 10–20 seconds per side to make them pliable.
- Place a few tablespoons of the chicken mixture onto each tortilla near one edge. Roll tightly and tuck the seam underneath.
- Fry taquitos seam-side down first, turning every 1–2 minutes until golden brown and crispy, approximately 4–6 minutes total.
- Let the taquitos rest briefly on paper towels to remove excess oil, then serve immediately.
- Alternatively, for an oven-finish, brush rolled taquitos with oil and bake at 425°F (220°C) for 12–15 minutes or until crisp.