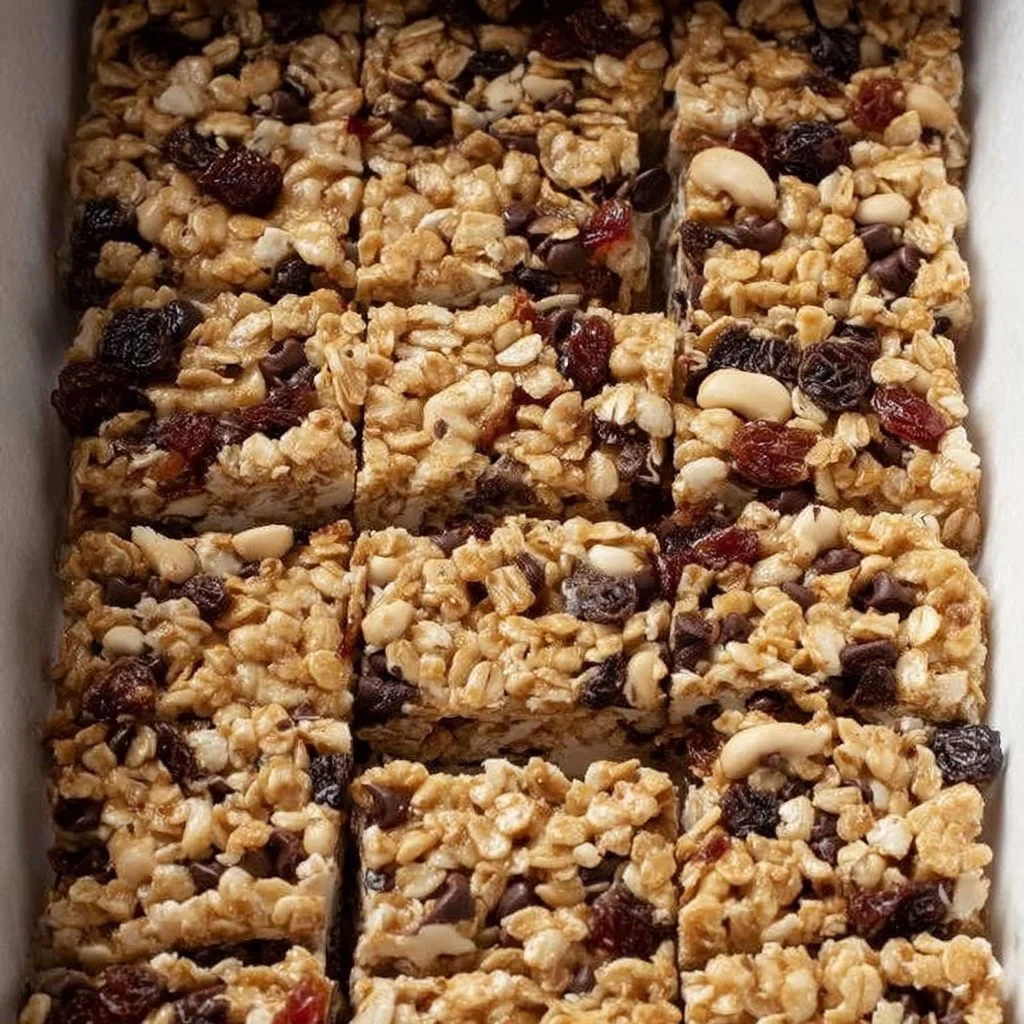
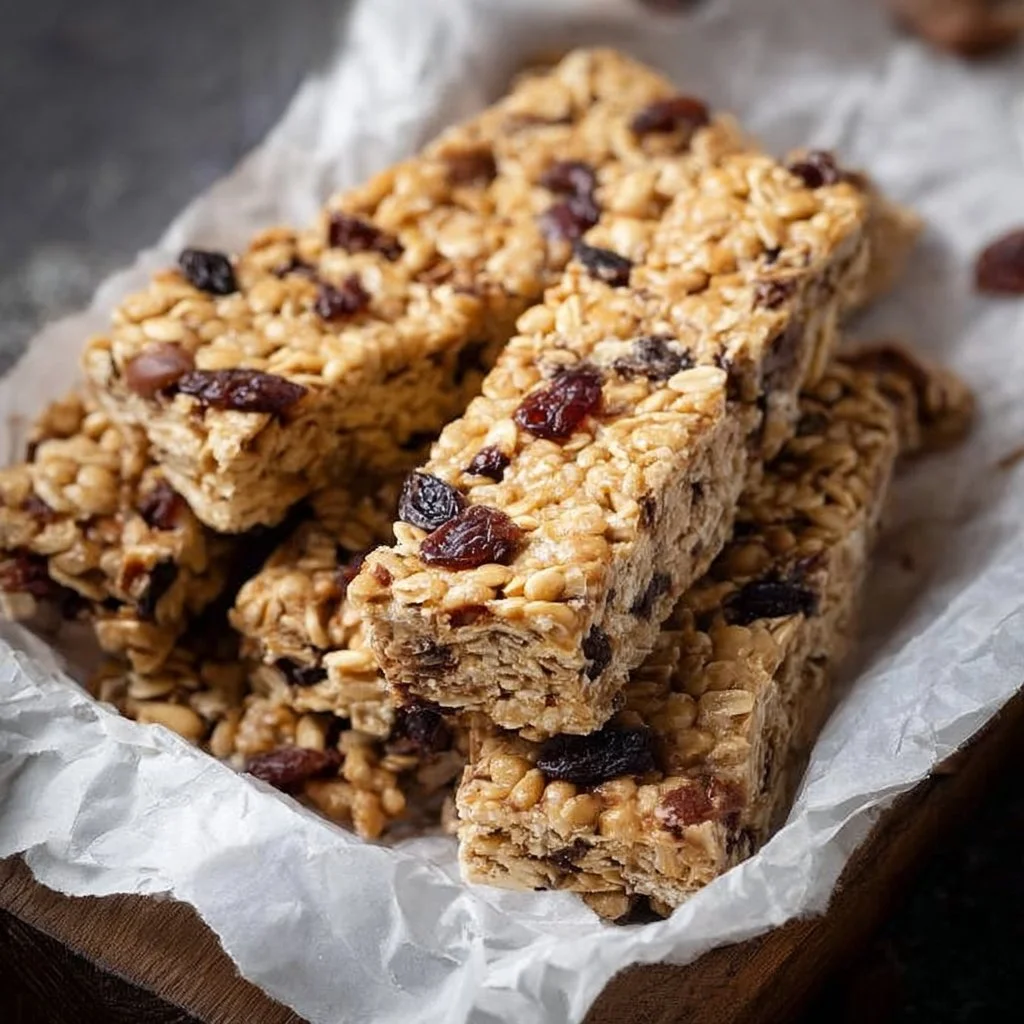
There’s something quietly comforting about a homemade granola bar: warm oats, a glossy honey-nut binding, and little pockets of chewy fruit that taste like home. These Homemade Granola Bars are perfect for crisp mornings, breezy afternoons, or cozy evenings when you want a seasonal treat that’s wholesome and homemade. Using simple pantry staples like rolled oats, nuts, honey or maple syrup, and your favorite dried fruit, this recipe is flexible, satisfying, and ideal for gifting or packing into lunchboxes. If you enjoy other easy snack ideas like banana oatmeal bars, you’ll love making these granola bars as a fresh seasonal project.
Ingredients & Equipment
Ingredients
- 2 cups rolled oats
- 1 cup nuts (e.g., almonds, walnuts) — roughly chopped
- 1/2 cup honey or maple syrup
- 1/4 cup nut butter (e.g., almond butter, peanut butter)
- 1/2 cup dried fruit (e.g., raisins, cranberries)
- 1/2 teaspoon salt
- 1/2 teaspoon cinnamon (optional)
Notes on ingredients
Rolled oats give a chewy texture and hold together well; if you prefer a denser bar, toast them briefly before mixing (see tips below). For nuts, you can mix types — walnuts add a soft buttery note while almonds give a nice crunch. Choose honey for a slightly floral, sticky sweetness or maple syrup for a vegan option and a deeper flavor. If you need nut-free bars, swap nut butter for sunflower seed butter and pick seeds instead of nuts.
Equipment
- Large mixing bowl
- Small saucepan (or microwave-safe bowl)
- Baking dish (8×8-inch is a common size) lined with parchment paper
- Spatula and measuring cups/spoons
- Sharp knife for cutting bars
- Optional helpful tools: blender or food processor (for chopping nuts or pulsing oats), kitchen scale for accuracy, candy thermometer if you like precise temperature control, and a baking tray to toast nuts/oats.
If you’re prepping snacks for a gathering or planning a themed menu (for instance, something handheld to pair with warm savory bites like Arepas with Cheese), these tools will make the process smooth and reliable.
Step-by-Step Instructions (with tips)
- Preheat and prepare: Preheat the oven to 350°F (175°C) and line an 8×8-inch baking dish with parchment paper, leaving an overhang so you can lift the bars out easily.
- Mix dry ingredients: In a large bowl, combine the rolled oats, chopped nuts, salt, and cinnamon (if using). Toss them together so the cinnamon and salt are evenly distributed.
- Warm the binder: In a small saucepan over low heat, stir together the honey (or maple syrup) and nut butter until smooth and glossy. If you prefer, you can microwave the mixture in 20-second bursts, stirring between each burst. Aim for a warm, pourable consistency — you don’t want it to boil aggressively. If using a candy thermometer, target about 140–150°F for easy pouring.
- Combine and add fruit: Pour the warm honey-nut butter mixture over the dry ingredients and mix well so every oat and nut is coated. Add the dried fruit and stir until evenly combined.
- Press into the pan: Pour the mixture into the prepared baking dish and press down firmly to create an even layer. Use the back of a spatula or a piece of parchment to press the mixture down; compacting is key to bars that hold together. For even edges, press mixture against the sides of the pan.
- Bake for color: Bake for 20–25 minutes until the tops are lightly golden and fragrant. Keep an eye on the edges — they brown faster than the center. If you like chewier bars, err on the shorter time; for crispier bars, allow the top to deepen a touch.
- Cool and cut: Let the pan cool completely on a wire rack before lifting out the parchment and cutting into bars. If you cut them warm, they may fall apart; chilling briefly in the fridge for 20–30 minutes can make slicing cleaner.
Variations and practical tips:
- Toasting vs. not toasting: Toasting oats and nuts on a baking tray for 8–10 minutes at 350°F before mixing amplifies their flavor and adds depth. Alternatively, skip toasting for a lighter, softer bar.
- Microwave or stovetop: Use the stovetop for gentle control and flavor, but the microwave is a great time-saver — stir frequently to avoid hotspots.
- Syrup adjustments: If your mixture feels dry, add a tablespoon of extra honey or nut butter. If it feels too wet, add a few tablespoons of oats or crushed cereal until it firms up when pressed.
- Add-ins: Stir in 2–4 tablespoons of chia seeds, flaxseed, or toasted coconut for texture and nutrition. Chocolate chips are best added after baking so they don’t melt completely into the mixture.
- Pressing technique: Use a piece of parchment across the top and press evenly with the bottom of a measuring cup for a uniformly compacted sheet.
If you’re multitasking in the kitchen—maybe you’re making a main like Asian Crockpot Orange Chicken for dinner—this recipe fits neatly into your prep time: the oven does its work while you finish other dishes, and the bars store well for several days.
Storage, Freezing & Make-Ahead Tips
One of the best things about homemade granola bars is how well they store. Here are tried-and-true tips to keep them fresh and handy:
Short-term storage
Store cooled bars in an airtight container at room temperature for up to 5 days. Layer sheets of parchment paper between layers of bars to prevent sticking. If your kitchen is warm or humid, refrigerate them to keep them firm — they’ll stay fresh for up to 10–14 days refrigerated.
Freezing
To freeze, wrap individual bars in plastic wrap or parchment and place them in a freezer-safe bag or container. Freeze for up to 3 months. Thaw at room temperature for 30–60 minutes before eating, or enjoy frozen for a chewy, refreshing treat on a hot day.
Make-ahead and portioning
Make a double batch and freeze half for quick breakfasts or snacks. To portion evenly, use a ruler to score the top of the firmed sheet into 12 or 16 squares before chilling; this makes cutting tidy later. If you want individually wrapped snacks for backpacks or lunches, wrap while slightly chilled for best results.
How to Use / Serve This Dish
These granola bars are versatile. Serve them:
- With a cup of hot tea or coffee for a cozy morning snack.
- As a portable breakfast: pair one bar with yogurt and fresh fruit for a balanced start to the day.
- In lunchboxes as an energy-boosting treat for school or work.
- Crumbled over ice cream or Greek yogurt in place of granola for a crunchy topping.
Creative serving ideas: brush melted dark chocolate over the tops and chill for a decadent finish, or drizzle lemon glaze for a bright seasonal touch. For kid-friendly variety, cut bars into small squares and serve alongside playful snacks — think fruit rollups or banana sushi — to create a fun snack plate that’s visually appealing and delicious.
FAQ
Q: Can I make these bars nut-free or allergy-friendly?
Yes. Replace the nut butter with sunflower seed butter or tahini, and substitute nuts with seeds (pumpkin, sunflower) or extra oats. Use maple syrup instead of honey for a fully vegan and vegetarian-friendly option.
Q: How long do homemade granola bars last?
At room temperature in an airtight container, expect 4–5 days of freshness. In the fridge they’ll last up to 10–14 days. For longer storage, freeze up to 3 months. Always check for off smells or visible mold before eating.
Q: My bars crumble — how can I make them hold together better?
The most common causes of crumbling are under-compressing the mixture before baking, not using enough binder, or cutting bars before they’ve cooled and set. Press the mixture firmly into the pan, bake long enough to set, and allow the pan to cool completely. If your recipe seems dry, add a tablespoon or two of extra honey or nut butter to improve binding.
Q: Can I add chocolate chips without melting them into the bars?
Yes. Stir in chocolate chips after baking while the bars are still warm (not hot) so they soften slightly and stick to the surface but don’t melt fully through. Alternatively, press chocolate chips on top after pressing into the pan and before baking; this will meld them into the top layer.
Conclusion
Homemade granola bars are a simple seasonal pleasure: a little bit of warmth, a touch of sweetness, and the satisfaction of creating something nourishing from pantry staples. Whether you make them for weekday breakfasts, an after-school snack, or a thoughtful homemade gift, these bars bring comfort and flavor to the small moments. I hope this recipe inspires you to get into the kitchen, experiment with your favorite mix-ins, and share a batch with someone special. Try the recipe this weekend and let me know how you customize it — I’d love to hear about your favorite add-ins and serving ideas.
Homemade Granola Bars
Ingredients
Method
- Preheat the oven to 350°F (175°C) and line an 8x8-inch baking dish with parchment paper, leaving an overhang.
- In a large bowl, combine rolled oats, chopped nuts, salt, and cinnamon (if using). Toss together.
- In a small saucepan over low heat, stir together honey (or maple syrup) and nut butter until smooth and glossy. This can also be done in the microwave in 20-second bursts.
- Pour the warm honey-nut butter mixture over the dry ingredients and mix well. Add dried fruit and stir until evenly combined.
- Pour the mixture into the baking dish and press down firmly to create an even layer.
- Bake for 20-25 minutes until lightly golden and fragrant.
- Let cool completely in the pan before lifting out the parchment and cutting into bars.