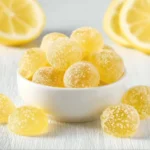
There’s something undeniably warm and nostalgic about making candy from scratch — a little sugar, a little heat, and memories bubbling up like the caramelized steam. This “Pin by Bloody Wolf on 80’s candy in 2026 | Candy recipes, homemade candy recipes, quick snack recipes” spin on classic honeycomb seafoam candy brings back neon-wrapped 80s treats with a fresh seasonal twist for 2026. It’s perfect for spring and holiday gift trays alike: light, airy, crackly honeycomb coated in chocolate or left plain for the pure vintage crunch. If you love quick snack recipes and homemade candy recipes that feel comforting and playful, this seafoam candy is definitely worth trying — note the main ingredients are simple sugar, a splash of syrup, and baking soda for that signature puff.
One quick note before we start: if you’re exploring other nostalgic sweets for sunny days, you might enjoy this collection of fruity summer treats I often reference in my kitchen notes: strawberry summer dessert ideas.
Ingredients & Equipment
Ingredients
- 1 cup granulated sugar
- 1/4 cup light corn syrup or golden syrup (see notes for substitution)
- 1/4 cup water
- 1 1/2 teaspoons baking soda, sifted
- 1 teaspoon vanilla extract (optional, for flavor depth)
- 6 oz (about 170 g) semi-sweet or milk chocolate (optional, for coating)
- Pinch of sea salt (optional, enhances flavor contrast)
- Food coloring or flavored extracts (optional seasonal variations: citrus, peppermint, or berry)
Equipment
- Heavy-bottomed medium saucepan
- Candy thermometer (recommended) or an instant-read thermometer
- Wooden spoon or heatproof silicone spatula
- Baking tray lined with parchment paper or silicone mat
- Measuring cups and spoons
- Whisk (for incorporating baking soda)
- Knife or mallet for breaking into pieces (if desired)
- Heatproof bowl for melting chocolate (double boiler or microwave-safe bowl)
Helpful tools / notes
- A candy thermometer helps you hit the right stage (about 300°F / hard crack if used), but this seafoam relies more on visual and timing cues; still, a thermometer makes results consistent.
- A silicone spatula and nonstick silicone mat make cleanup easier.
- If you’d like a lighter, airier texture, use a wide, shallow pan so the mix cools quickly.
If you like cake decorating inspiration alongside candy, check out this lovely vintage cake gallery I reference when styling dessert trays: vintage birthday cake ideas.
Step-by-Step Instructions (with tips)
- Prepare your workspace
- Line a baking tray with parchment paper or a silicone mat and have your sifted baking soda and vanilla ready in small bowls.
- If you’ll coat the pieces in chocolate, set up the chocolate melting station now.
- Have oven mitts and a damp towel nearby for safety.
- Combine sugar, syrup, and water
- In the heavy-bottomed saucepan, combine 1 cup granulated sugar, 1/4 cup corn syrup (or golden syrup), and 1/4 cup water. Stir gently just to combine; avoid splashing the sides.
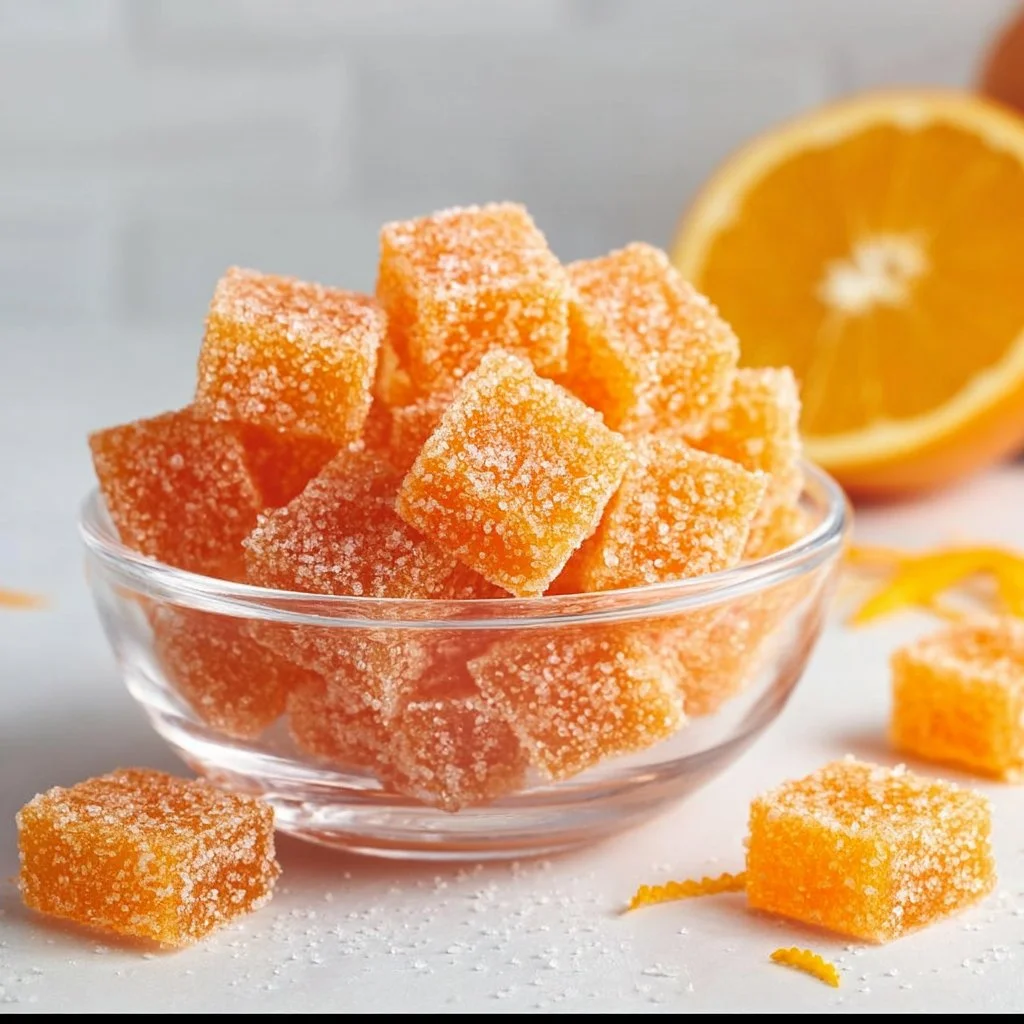
- Tip: For a seasonal twist, replace 1 tablespoon of water with fresh citrus juice (lemon or orange) for a bright flavor — but keep total liquid low so the candy still puffs.
- Dissolve and bring to boil
- Over medium heat, let the sugar dissolve completely, gently swirling the pan occasionally — do not stir vigorously.
- Once dissolved, clip in your candy thermometer. Increase heat to medium-high to bring the syrup to a rolling boil.
- Reach the right temperature / visual cues
- Cook until the syrup reaches about 300°F (hard crack) on a candy thermometer. If you don’t have a thermometer, cook until the mixture is a deep golden amber and the bubbles are rapid and tight.
- Kitchen tip: Burned sugar tastes bitter fast — remove from heat a touch earlier if the color deepens too quickly, then let residual heat finish it.
- Add baking soda and vanilla, then stir quickly
- Remove the pan from heat. Immediately whisk in 1 1/2 teaspoons sifted baking soda and 1 teaspoon vanilla extract. The mixture will foam up vigorously — that’s the seafoam forming.
- Stir quickly but gently to distribute the bubbles; the quicker you move, the more even the texture.
- Pour and set
- Immediately pour the foamy mixture onto your lined tray. Don’t spread or press it down — let the natural foam form peaks and valleys for that classic honeycomb look.
- Tip: If you want flatter pieces for candy bars, briefly tilt the tray to thin the layer before it sets.
- Cool completely and break
- Let the candy cool and harden at room temperature for at least 30 minutes to an hour. Once fully set, break into chunks with a knife or mallet.
- Variation: For neat, bar-like pieces, score the surface lightly after 10–15 minutes (when slightly firm but still a bit pliable) and then let it finish setting.
- Optional chocolate coating
- Melt chocolate in a double boiler or microwave in short bursts, stirring often. Dip pieces halfway into the chocolate or drizzle with a spoon for a retro-dipped candy look.
- Sprinkle a tiny pinch of sea salt before the chocolate fully sets for a sophisticated contrast.
- Flavor and color variations
- Peppermint: Add 1/4–1/2 teaspoon peppermint extract with the vanilla and tint pastel green or red for festive colors.
- Citrus: Add lemon or orange zest to melted chocolate for a layered citrus note.
- Nutty crunch: Toast chopped almonds or hazelnuts and scatter on the chocolate-coated side before it sets.
Kitchen tips and variations
- Roasting vs boiling: For add-ins like nuts, roast them separately to develop flavor; do not add nuts to the hot sugar mixture (they’ll sink and can burn). Boiling refers to the sugar syrup — precise boiling stage matters for texture.
- Alt sweeteners: Golden syrup gives a more caramel flavor; if you use honey, expect a darker, more floral result and slightly different puff behavior.
- Humidity warning: Seafoam/honeycomb candy is hygroscopic — high humidity will soften the texture. Make it on dry days if you can and store airtight.
For a playful presentation idea, I often pair these with retro-inspired trays like those used in this birthday cake decorating roundup: vintage cake decorating gallery.
Storage, Freezing & Make-Ahead Tips
Storing
- Seafoam candy stores best in an airtight container at room temperature with a layer of parchment between layers to prevent sticking.
- Add a small packet of silica gel (food-safe) or a pinch of rice in a breathable pouch to help reduce moisture if you live in a humid climate.
- Shelf life: Properly stored, seafoam candy remains crisp for about 2–3 weeks, though chocolate-coated pieces are best eaten within 1–2 weeks for optimal texture.
Freezing
- I don’t recommend long-term freezing for seafoam candy because ice crystals and thawing can introduce moisture and make the candy soggy.
- Short-term freezing (up to one month) can work if pieces are individually wrapped in plastic wrap and placed in an airtight container. Thaw completely at room temperature before unwrapping to avoid condensation.
Make-ahead tips
- You can make the plain honeycomb up to a week ahead and coat in chocolate the day you plan to serve for the freshest crunch.
- For gifting, wrap pieces in waxed paper and place them in small tins or boxes; include a desiccant packet to help keep them crisp.
Portioning advice
- Break into bite-size pieces for dessert trays or larger chunks for snack bowls.
- For party favors, place 3–5 pieces per cellophane bag and tie with baker’s twine — a simple, nostalgic presentation.
How to Use / Serve This Dish
Serving ideas
- Snack bowl: Serve mixed plain and chocolate-dipped pieces in a vintage candy dish at parties for a retro vibe.
- Dessert topper: Crumble over ice cream, cakes, or cupcakes for crunch and visual interest.
- Gift: Package in small mason jars or tins with a handwritten tag — perfect for holiday hostess gifts or seasonal swap meets.
- Pairings: Bright citrus sorbets, coffee, or a creamy hot chocolate are ideal companions. For an adult twist, a small pour of orange liqueur or espresso over a bowl of crushed seafoam and mascarpone makes an indulgent dessert.
Creative variations
- Seafoam bark: Scatter pieces over melted white chocolate, sprinkle with freeze-dried strawberry dust for a “neon” 80s look, and chill until set.
- Trail mix: Add small broken pieces to a mix of toasted coconut, nuts, and dried fruit for a retro-sweet trail mix (be mindful: moisture from dried fruit may soften the candy).
- Dessert cups: Layer small shards between whipped cream and berry compote for a delightful contrast of textures.
Seasonal styling tips
- Spring: Light pastel-dyed chocolate drizzles and edible flowers.
- Fall: Use darker chocolate, a pinch of cinnamon in the candy, and package with kraft paper.
- Winter holidays: Peppermint swirl and red-green sprinkles for a festive touch.
FAQ
Q: Can I make seafoam candy without corn syrup? A: Yes. Golden syrup is a great direct substitute and gives a richer, caramel-like flavor. If using honey, expect a darker color and slightly different behavior — it can still work but watch the heat closely. Avoid replacing corn syrup with water alone; corn syrup helps prevent crystallization.
Q: Why didn’t my honeycomb puff up properly? A: Common causes are undercooking the syrup (not hot enough) or adding baking soda too slowly. Make sure the sugar reaches the right temperature (around hard-crack), remove from heat, then add sifted baking soda all at once and stir briskly. Humidity and stale baking soda can also affect puffing.
Q: How do I keep the candy crisp in humid weather? A: Store pieces in airtight containers with a small desiccant or a tiny pouch of uncooked rice to absorb moisture. Make candies on dry days when possible and avoid refrigeration, which can introduce condensation.
Q: Can I flavor the candy with extracts or zests? A: Absolutely. Add extracts (peppermint, lemon, orange) with the vanilla when you add the baking soda, and zest fresh citrus into melted chocolate for an extra aromatic layer. Use small amounts; strong extracts can overwhelm the delicate sugar flavor.
Conclusion
Making this retro seafoam candy — the kind that would make any 80s-loving snack table glow — is one of those comforting, joyful kitchen projects that’s as satisfying in the process as it is to eat. The crackle, the nostalgia, and the seasonal ways you can dress it up (citrus in spring, peppermint for the holidays) make it a versatile quick snack recipe and a standout in homemade candy recipes. If you want a deeper dive into classic seafoam technique, this excellent Homemade Seafoam Candy recipe mirrors many of the same tips I rely on in my pantry. And if you’re curious about how food and body response intersect while you enjoy treats like this, I found the CGM Experiment insights an interesting read on mindful eating.
I hope you try this version of “Pin by Bloody Wolf on 80’s candy in 2026” and make it your own — share a photo, swap flavor ideas, or tuck a batch into a gift box for someone you love. Happy candy-making!
Honeycomb Seafoam Candy
Ingredients
Method
- Line a baking tray with parchment paper or a silicone mat and have your sifted baking soda and vanilla ready in small bowls. If you will coat the pieces in chocolate, set up the chocolate melting station now.
- Have oven mitts and a damp towel nearby for safety.
- In a heavy-bottomed saucepan, combine 1 cup granulated sugar, 1/4 cup corn syrup (or golden syrup), and 1/4 cup water. Stir gently just to combine; avoid splashing the sides.
- Over medium heat, let the sugar dissolve completely, gently swirling the pan occasionally. Do not stir vigorously.
- Once dissolved, clip in your candy thermometer and increase heat to medium-high to bring the syrup to a rolling boil.
- Cook until the syrup reaches about 300°F (hard crack). If you don’t have a thermometer, cook until the mixture is a deep golden amber and the bubbles are rapid and tight.
- Remove the pan from heat. Immediately whisk in 1 1/2 teaspoons sifted baking soda and 1 teaspoon vanilla extract.
- Immediately pour the mixture onto your lined tray, allowing the natural foam to form peaks and valleys.
- Let the candy cool and harden at room temperature for at least 30 minutes to an hour before breaking into pieces.
- Melt chocolate in a double boiler or microwave in short bursts, stirring often. Dip pieces halfway into the chocolate or drizzle with a spoon.
- Sprinkle a tiny pinch of sea salt before the chocolate fully sets.