Pin by Bloody Wolf on 80’s candy in 2026 | Gummies recipe, Lemon sweets, Easy candy recipes
Introduction
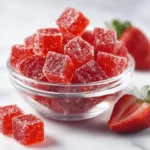
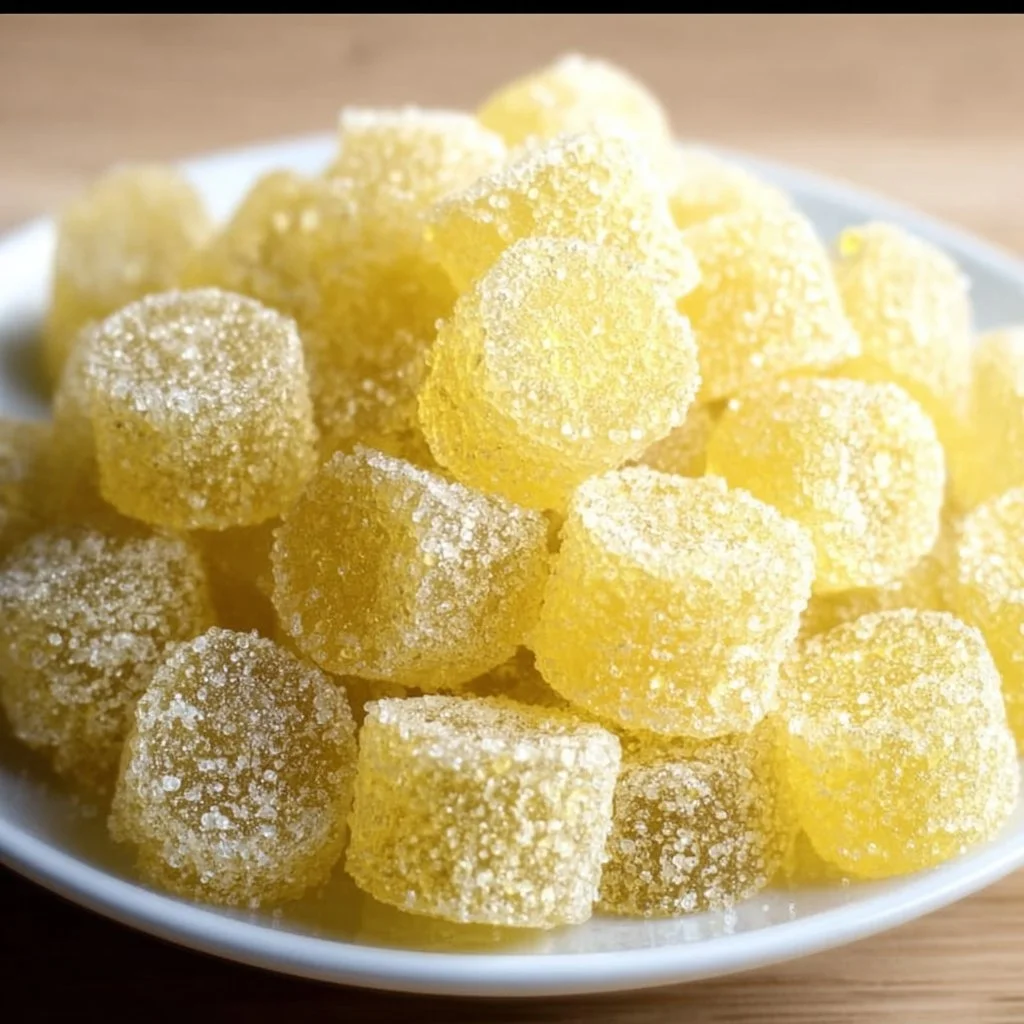
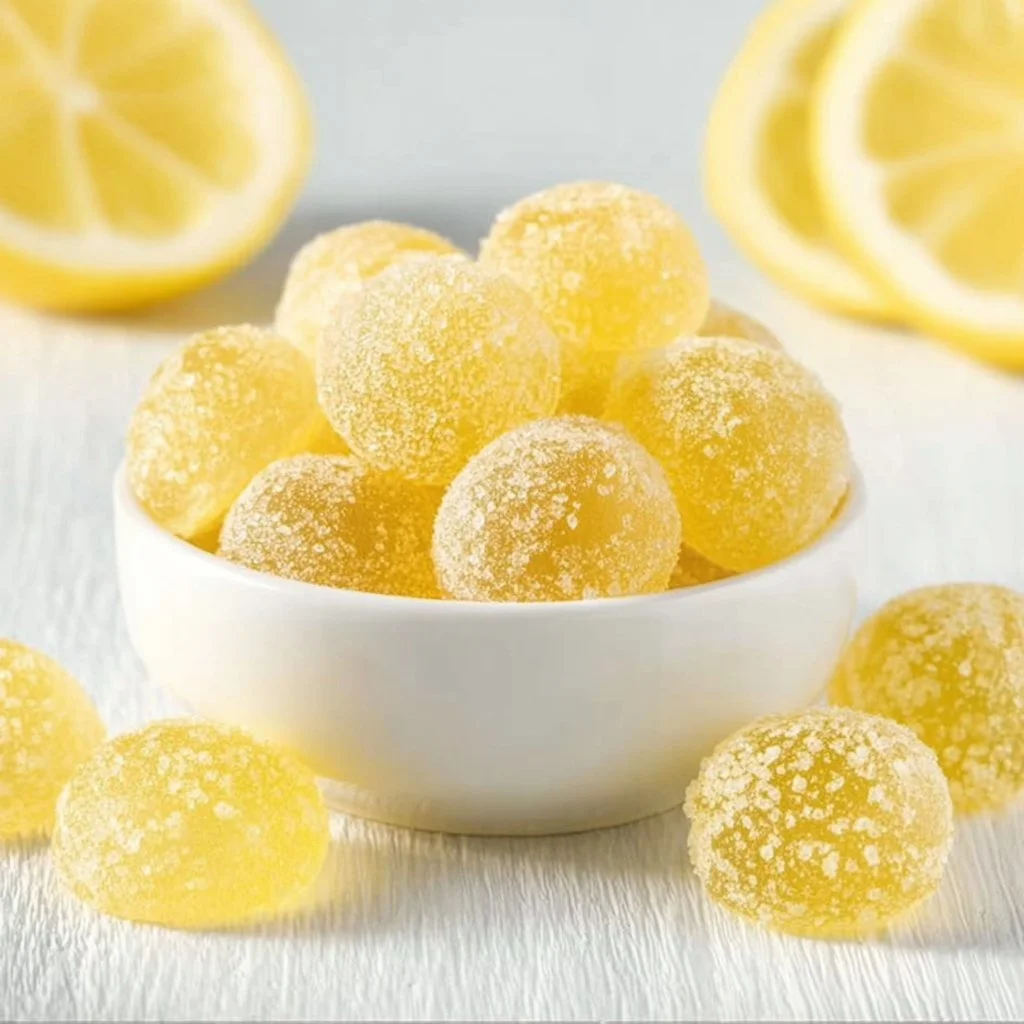
There’s something wonderfully nostalgic about revisiting candy ideas from the 80’s—but with a fresh 2026 twist. This “Pin by Bloody Wolf on 80’s candy in 2026 | Gummies recipe, Lemon sweets, Easy candy recipes” reimagines that neon-era candy energy into a seasonal, homemade lemon gummy that’s tender, bright, and impossibly fun to make. Using fresh lemon (think Meyer or regular lemons), a simple sweetener, and gelatin (or agar for a vegan option), this recipe is perfect for sunny afternoons, gift jars, or cozy kitchen experiments. If you love homemade sweets and comfort food that doubles as a project, you’ll appreciate how easy and satisfying these gummies are — like edible sunshine. For another bright, fruit-forward dessert idea, I often reference my favorite summer treats like the ones here: strawberry dessert recipes for easy summer desserts.
Why this seasonal lemon gummy is worth trying
There’s an unbeatable charm to making candy at home: you control the sweetness, the intensity of the lemon, and the textures. These lemon gummies feel seasonal because citrus is often at peak flavor in cooler months, but their light, bright profile makes them perfect for spring and summer gatherings too. They’re a lovely balance of tart and sweet, and they make a thoughtful homemade gift or a playful addition to a dessert board. This recipe is intentionally flexible, so you can dial up floral notes with a splash of elderflower syrup, or add herbs like basil for an adult-friendly twist.
Ingredients & Equipment
Ingredients
- 1 cup fresh lemon juice (about 4–6 lemons; Meyer lemons give a softer, fragrant flavor)
- Zest of 1 lemon (optional, for extra lemon intensity)
- 1 cup water
- 3/4 to 1 cup granulated sugar (adjust to taste)
- 3 tablespoons gelatin powder (or 3 tablespoons agar powder for vegan gummies — see notes)
- 1 tablespoon honey or light corn syrup (optional, helps with chew and shine)
- Pinch of salt
- 1–2 teaspoons lemon extract (optional, if you want a more candy-like lemon boost)
- Cornstarch or extra sugar for dusting (optional)
Equipment
- Small saucepan
- Whisk
- Measuring cups and spoons
- Citrus juicer (hand juicer or reamer)
- Microplane or zester
- Silicone gummy molds or small baking tray lined with parchment
- Dropper or small spoon (for filling molds)
- Candy thermometer (helpful, not mandatory)
- Blender or immersion blender (optional, for smoothing if using zest)
Notes and helpful tools
- Silicone molds make the cutest candies and are easiest for unmolding. A small baking tray allows you to cut gummies into squares.
- A candy thermometer helps you keep the mixture warm but not boiling; over-boiling can change texture.
- If using agar, follow the manufacturer’s instructions for activation — it often requires boiling for a few minutes to fully gel.
For another vintage cake or celebratory inspiration that pairs beautifully with homemade sweets, take a look at creative cake designs such as this one: vintage birthday cake ideas with creative designs.
Step-by-Step Instructions (with tips)
- Prepare your molds and ingredients
- Lightly grease silicone molds with a neutral oil or keep them dry if nonstick. If using a tray, line it with parchment and lightly oil.
- Zest one lemon and juice enough lemons to make 1 cup of juice. Measure water and sugar so everything’s ready to go.
- Bloom the gelatin (or agar)
- For gelatin: sprinkle the gelatin evenly over 1/2 cup of the cold water in a small bowl. Let it sit for 5–10 minutes until it blooms (absorbs the liquid and becomes spongy).
- For agar: combine agar powder with 1 cup water in the saucepan and let it hydrate for a couple of minutes; agar generally needs boiling to activate — see variation notes below.
Tip: Blooming ensures a smooth, evenly set gummy. If you skip this, your final texture may be grainy or uneven.
- Heat the lemon syrup
- In a small saucepan, combine the remaining 1/2 cup water and sugar. Heat gently over medium heat, whisking until the sugar dissolves. Don’t let it caramelize — you just want a clear syrup.
- Add lemon zest and honey or corn syrup if using. Turn off the heat briefly and let the syrup cool slightly.
- Combine lemon juice and gelatin
- Whisk the fresh lemon juice into the bloomed gelatin until smooth. If you’re using gelatin sheets, melt them as directed and stir into the warmed syrup mixture.
- Pour the lemon-gelatin mixture into the warm syrup in the saucepan and return to very low heat, stirring until everything is fully combined. Do not boil gelatin — just warm enough that it’s liquid and homogenous.
Tip: If you want an ultra-smooth finish, briefly blend the mixture with an immersion blender and strain through a fine sieve to catch any zest or undissolved bits.
- Flavor boosters (optional)
- Stir in lemon extract for a brighter candy note, or add 1 teaspoon of elderflower syrup for a floral nuance.
- For herbal variations, add a sprig of basil or thyme to the syrup while it heats, then remove before combining with gelatin.
- Pour into molds
- Use a dropper or small spoon to fill silicone molds. For a baking tray, pour evenly and let it set to a thickness of about 1/4–1/2 inch.
- Tap molds gently on the counter to remove air bubbles.
- Chill and set
- Refrigerate for at least 2 hours, or until fully set. Gelatin gummies will firm up faster than agar; agar can sometimes set at room temperature once fully cooled but chilling gives the best texture.
- Unmold and finish
- Pop gummies from molds; if they’re sticky, dust them lightly with cornstarch or roll them in extra sugar.
- Trim any rough edges if using a tray, then cut into squares.
Variation: Roasting vs boiling citrus (kitchen tip)
- Roasting lemon halves briefly (5–8 minutes at 375°F) concentrates flavor and mellows bitterness — great if you want a deeper, almost caramelized citrus note. Use juiced roasted lemons as the main juice for a richer gummy.
- Boiling lemon peels in the syrup extracts oils and fragrance but can add bitterness; briefly blanching peels first reduces bitter compounds.
Serving tip: For an 80’s-inspired vibe, make neon-colored layers by mixing in natural colorants (a touch of turmeric for pale yellow, or blend with beet juice for pink layers) and set in layers, chilling each layer before adding the next.
Storage, Freezing & Make-Ahead Tips
- Refrigerator: Store gummies in an airtight container with parchment layers to prevent sticking. They’ll keep 7–10 days refrigerated if made with gelatin; agar-based vegan gummies may last a similar time if kept cool and dry.
- Freezing: Gummies can be frozen for up to 2 months. Freeze in a single layer on a tray until solid, then transfer to a freezer-safe container or bag. Thaw in the refrigerator briefly before serving — note that freezing can slightly alter the texture, often making them a touch firmer.
- Make-ahead: Gummies are excellent to make ahead for parties. Prepare them 1–3 days before an event and store refrigerated. If gifting, package in airtight jars with a dusting of sugar or cornstarch between layers to avoid sticking.
- Portioning advice: If you want individually portioned favors, compress the gummies into small cellophane bags or jars with a cardboard insert to prevent squashing. For party platters, arrange on a parchment-lined board and label flavors.
For another playful dessert pairing idea or to explore more nostalgic sweets, see these vintage cake decorating inspirations: vintage cake decorating and cake design ideas.
How to Use / Serve This Dish
- Dessert platters: Arrange lemon gummies alongside chocolate-covered citrus peels, shortbread squares, and small bowls of fresh berries for a balanced dessert board.
- Cocktail garnish: Use gummies as whimsical cocktail garnishes — they’re delightful on the rim of a lemon drop martini or tucked onto a cocktail pick with a mint leaf.
- Gift jars: Layer gummies in small mason jars with festive ribbons. Include a little tag with “homemade lemon gummies” and storage tips.
- Kid-friendly snack: Offer them in small portions for a special treat — they’re less sticky than store candy and you can control the sweetness.
- Baking accents: Use gummies as a playful topping for cupcakes or to sit beside a slice of lemon tart as a complementary candy. They pair particularly well with creamy components like mascarpone or lemon curd.
Flavor pairings
- Chocolate: Dark chocolate is a lovely contrast to bright lemon gummies.
- Herbs: Basil or thyme complements lemon beautifully.
- Cheese: Serve with mild, creamy cheeses (ricotta, mascarpone) and honey for an adult dessert board.
FAQ
Q: Can I make these gummies vegan? A: Yes. Substitute gelatin with agar-agar powder (use the same weight as a starting point, often 1:1, but check your brand instructions). Agar needs to come to a boil and simmer for a few minutes to fully activate, then pour into molds. Texture will be slightly different — a bit firmer and less bouncy than gelatin.
Q: How long will homemade gummies last at room temperature? A: If left at room temperature in an airtight container, they can last 1–2 days in a cool, dry environment. For longer storage, refrigerate. Heat and humidity will cause stickiness and spoilage more quickly.
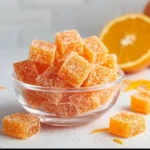
Q: I don’t have lemon extract — can I skip it? A: Absolutely. Lemon extract boosts a candy-like lemon aroma but is optional. You can increase fresh lemon zest for more natural lemon flavor or add a tiny amount of orange zest for complexity.
Q: My gummies are too soft or too firm — how do I fix that next time? A: If too soft, increase the gelatin/agar slightly (about 1/2 teaspoon more) next batch or reduce water. If too firm, reduce the gelatin/agar by a small amount (1/2 teaspoon less). Precise measurements and proper blooming/activation are key.
Conclusion
This seasonal, nostalgic spin on “Pin by Bloody Wolf on 80’s candy in 2026 | Gummies recipe, Lemon sweets, Easy candy recipes” brings together the playful spirit of 80’s candy pins and modern, from-scratch comfort. The bright lemon flavor and soft, chewy texture make these gummies a delightful project that rewards patience and creativity — perfect for gifting, snacking, or accenting a dessert table. If you want to explore a classic lemon preparation to pair with these candies, I love the depth of flavor in the Meyer lemon curd and tart recipe, and for inspiration on gummy techniques and fun shapes, see this creative guide to making oversized gummy bears and basic gummy methods in giant evil gummy bears inspired by Cloudy with a Chance of Meatballs. Try the recipe, experiment with flavors, and share your colorful results — I’d love to hear which variation becomes your signature!
Seasonal Lemon Gummies
Ingredients
Method
- Lightly grease silicone molds with a neutral oil or keep them dry if nonstick. If using a tray, line it with parchment and lightly oil.
- Zest one lemon and juice enough lemons to make 1 cup of juice. Measure water and sugar so everything’s ready to go.
- For gelatin: sprinkle the gelatin evenly over 1/2 cup of the cold water in a small bowl. Let it sit for 5–10 minutes until it blooms.
- For agar: combine agar powder with 1 cup water in the saucepan and let it hydrate for a couple of minutes; agar generally needs boiling to activate.
- In a small saucepan, combine the remaining 1/2 cup water and sugar. Heat gently over medium heat, whisking until the sugar dissolves.
- Add lemon zest and honey or corn syrup if using. Turn off the heat briefly and let the syrup cool slightly.
- Whisk the fresh lemon juice into the bloomed gelatin until smooth.
- Pour the lemon-gelatin mixture into the warm syrup in the saucepan and return to very low heat, stirring until everything is fully combined.
- Use a dropper or small spoon to fill silicone molds. For a baking tray, pour evenly and let it set to a thickness of about 1/4–1/2 inch.
- Refrigerate for at least 2 hours, or until fully set.
- Pop gummies from molds; if they’re sticky, dust them lightly with cornstarch or roll them in extra sugar.
- Trim any rough edges if using a tray, then cut into squares.