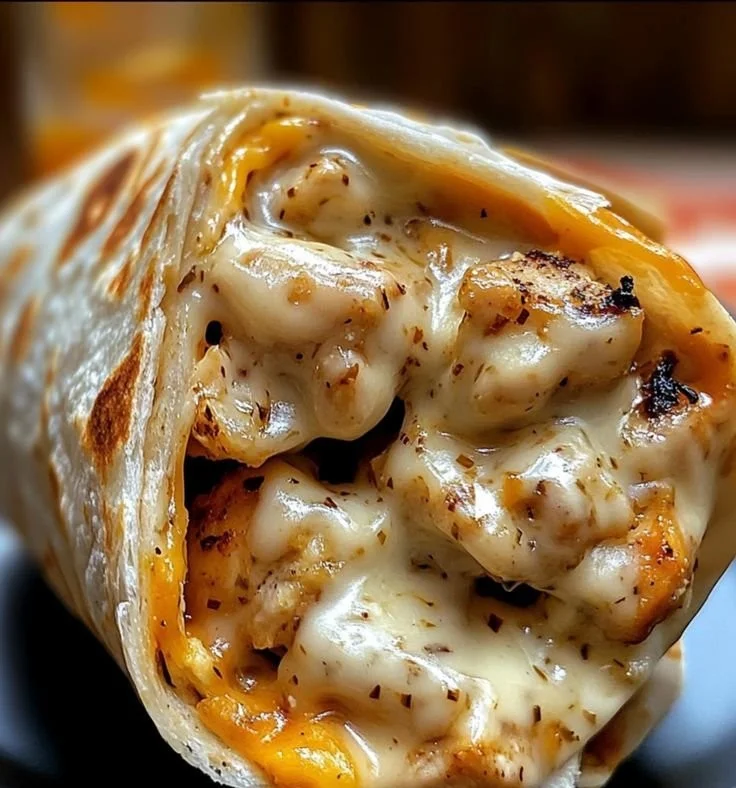
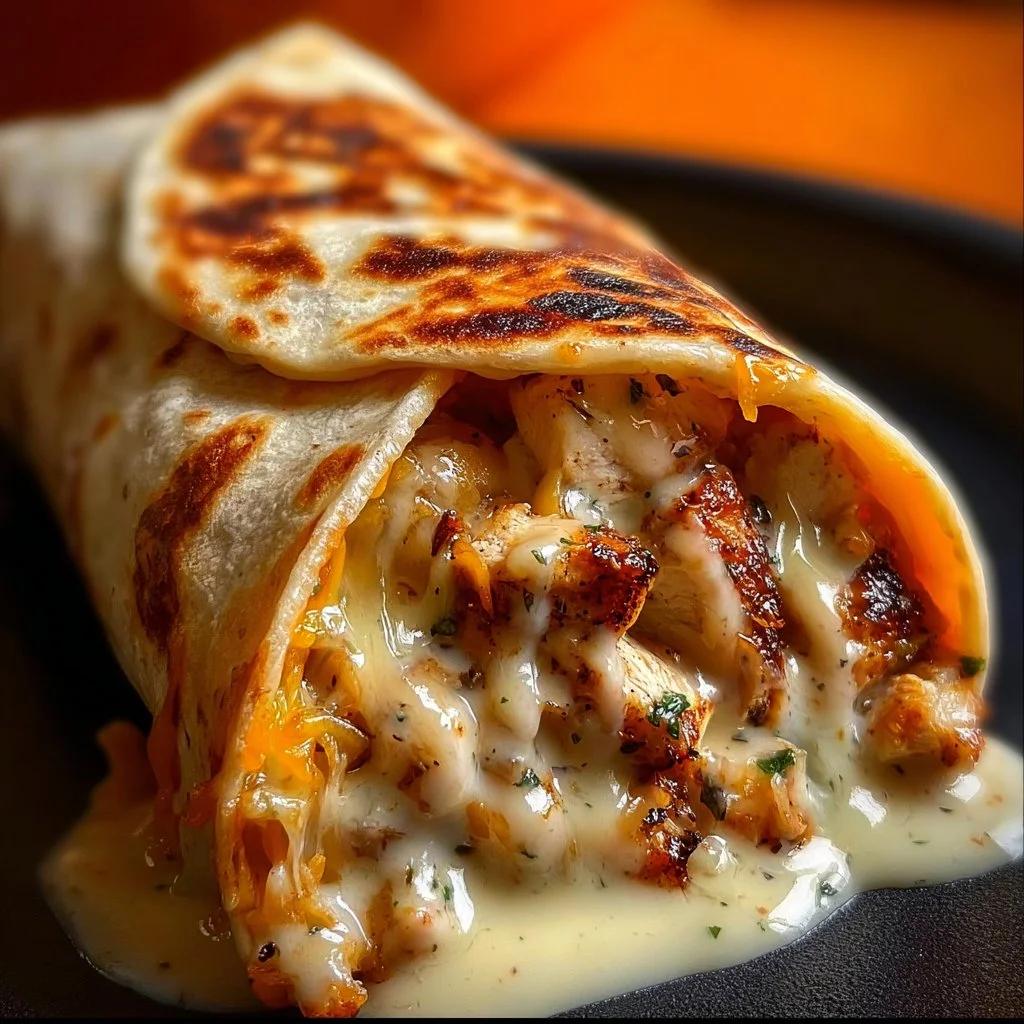
There’s something instantly comforting about a warm wrap melting with cheese and bright garlic — that’s exactly what Cheesy Garlic Chicken Wraps deliver. Perfect for busy weeknights, cozy weekend lunches, or a seasonal picnic when tomatoes and lettuce are at their peak, these wraps are all about easy, from-scratch flavor without fuss. I love how the simple combination of seasoned chicken, gooey cheese, and fragrant garlic comes together in just a few minutes, and how flexible the recipe is depending on what’s in your fridge. If you enjoy lighter takes or low-carb options, check out this low-carb cheesy garlic chicken wraps variation for another way to savor the same flavors.
Ingredients & Equipment
Ingredients
- 2 cups cooked, seasoned chicken, diced
- 1 cup shredded cheese (cheddar or mozzarella)
- 2 cloves garlic, minced
- 4 large tortillas or wraps
- 1 tablespoon olive oil
- Salt and pepper to taste
- Optional: lettuce, tomatoes, or other preferred toppings
Notes
- Chicken: Use leftover roast chicken, shredded rotisserie chicken, or quickly grilled breasts. For stronger flavor, use a seasoned chicken or marinate before cooking.
- Cheese: Cheddar brings sharpness; mozzarella gives a creamier, milder melt. A mix (50/50) works beautifully.
- Garlic: Fresh minced garlic is best. For a softer, sweeter garlic taste, use roasted garlic cloves.
Equipment
- Skillet or frying pan (nonstick preferred)
- Spatula or wooden spoon
- Cutting board and knife
- Grater for shredding cheese (if not pre-shredded)
- Optional helpful tools: blender or food processor (for a quick garlic-herb sauce), baking tray (if you prefer to crisp the wraps in the oven), food thermometer (if cooking chicken from raw)
If you want a lighter or crispier finish, a sandwich press, panini maker, or a baking tray under the broiler will give you that golden, slightly crunchy exterior.
Step-by-Step Instructions (with tips)
Follow these base steps and use the tips below to adapt the recipe to your pantry and season.
- In a skillet, heat olive oil over medium heat. Add minced garlic and sauté until fragrant.
- Add the cooked chicken to the skillet and stir until heated through.
- Sprinkle in the shredded cheese and stir until melted.
- Lay out the tortillas and fill each with the cheesy chicken mixture.
- Add any optional toppings if desired.
- Wrap tightly and serve warm.
Detailed steps and kitchen tips
- Step 1 (Garlic): Heat the oil gently — you want the garlic to become fragrant but not brown. If it browns, it will taste bitter. For a milder garlic flavor, cook 1–2 extra minutes on low heat.
- Step 2 (Chicken): Make sure your chicken is diced into bite-sized pieces so it heats evenly. If your chicken is cold from the fridge, let it warm a minute or two longer in the skillet. If you’re starting with raw chicken breasts, cook them fully to 165°F (74°C) before shredding or dicing.
- Step 3 (Cheese): Add the cheese off the heat for a creamier, less stringy melt, or keep the skillet on low and stir until beautifully gooey. For extra creaminess, stir in a splash of milk or a tablespoon of cream cheese.
- Step 4 (Assemble): Warm the tortillas briefly (10–15 seconds per side in a dry skillet or 15 seconds in the microwave wrapped in a damp paper towel) so they’re pliable and won’t tear when you roll them.
- Step 5 (Toppings): Crunchy lettuce, juicy tomatoes, sliced avocado, or a smear of sour cream or yogurt make lovely contrasts. Add pickled onions or a dash of hot sauce for brightness and heat.
- Step 6 (Serve): Serve immediately for the best melty-cheese experience. If you want a warm crisp on the outside, place wrapped tortillas seam-side down on a hot, dry skillet for 1–2 minutes per side or place on a baking tray under the broiler for 1–3 minutes—watch carefully so they don’t burn.
Variations & flavor ideas
- Roasted vs. boiled chicken: Roasted chicken (seasoned with herbs and a touch of lemon) adds deeper flavor and caramelized notes, while boiled chicken keeps things simple and neutral so other flavors shine. If time is short, use leftover rotisserie.
- Add-ins: Sautéed bell peppers and onions, mushrooms, or corn add seasonal veggies and texture.
- Sauces: Mix in pesto, buffalo sauce, BBQ sauce, or a garlic-herb yogurt for different personalities. For a smoky twist, add a pinch of smoked paprika when heating the chicken.
- Cheese swaps: Pepper jack for heat, gouda for smokiness, or feta for tang (use sparingly as it won’t melt the same way).
For quick inspiration on pairing bold honey-garlic flavors, you might like the 20-minute honey garlic chicken technique in this recipe guide that speeds up dinner prep.
Storage, Freezing & Make-Ahead Tips
Storing leftovers
- Refrigerator: Store cooled, wrapped sandwiches in an airtight container or wrapped tightly in foil for up to 3 days. If the wraps become soggy from toppings like tomatoes, store the fillings and fresh toppings separately and assemble when ready to eat.
- Reheating: Reheat gently in a skillet over medium-low heat, seam-side down first, flipping once. A covered skillet will help the cheese re-melt without drying out the chicken. Alternatively, reheat in the oven at 350°F (175°C) for 10–12 minutes.
Freezing
- To freeze: Assemble wraps without fresh, watery toppings (skip lettuce and tomatoes). Wrap each wrap tightly in plastic wrap and then in foil or place in a freezer-safe zip bag. Freeze for up to 2 months.
- To reheat from frozen: Thaw in the refrigerator overnight, then reheat in a skillet or oven until heated through. If reheating directly from frozen, unwrap and microwave a minute to take off the chill before finishing in a skillet or oven to crisp the outside.
Make-ahead strategy
- Prep the seasoned chicken and cheesy filling in advance and keep chilled. When you’re ready to serve, warm the filling and assemble the wraps in minutes.
- Portioning: If you want smaller handhelds for a gathering, use smaller tortillas or cut large wraps in halves after grilling. For meal-prep, double the filling and portion into four or six wraps depending on appetite. For a low-carb prep option, see this low-carb version that swaps tortillas for low-carb alternatives or large lettuce leaves.
How to Use / Serve This Dish
Pairing ideas
- Sides: Cheesy Garlic Chicken Wraps are terrific with a crisp green salad, sweet potato fries, or a bowl of tomato soup for a cozy, seasonal combo.
- Drinks: Try a citrusy iced tea, a light beer, or a sparkling lemonade to balance the richness of the cheese.
- For a crowd: Turn this into a make-your-own wrap station — set out warmed tortillas, the cheesy chicken filling, and bowls of toppings (lettuce, diced tomatoes, pickles, salsas, avocado, and sauces) so everyone can customize.
Creative variations
- Quesadilla-style: Spread the filling on one half of a tortilla, fold and cook on a skillet until both sides are golden and cheese is melted. For a twist, make them into crispy quesadillas with a drizzle of honey or hot sauce.
- Breakfast wrap: Add scrambled eggs and a touch of hot sauce for a savory breakfast option.
- Salad bowl: Skip the tortillas, spoon the warm cheesy chicken over a bowl of mixed greens, and top with crunchy tortilla strips for a hearty salad.
If you love the sweet-heat balance of honey and cheese in handhelds, consider adapting the filling to make loaded quesadillas like these cheesy hot honey chicken quesadillas for a weekend treat.
FAQ
Q: Can I use pre-cooked rotisserie chicken?
A: Absolutely — rotisserie chicken is a fantastic shortcut and adds great flavor. Just dice or shred and add it to the skillet to warm with garlic before adding cheese.
Q: How long will leftovers keep in the fridge?
A: Stored in an airtight container, assembled wraps with no wet toppings will keep up to 3 days. If you want maximum fresh texture, store fillings separately and assemble within 2–3 days.
Q: What can I use instead of tortillas?
A: Large lettuce leaves (for a low-carb option), flatbreads, pita pockets, or even crepes make fun alternatives. For those watching carbs, the low-carb wrap link above offers specific swaps and ideas.
Q: Can I make these spicy or milder for kids?
A: Yes — adjust heat by choosing a spicy cheese, adding hot sauce, or mixing in chopped jalapeños for spice. For kids, keep the filling mild and offer sauces on the side so everyone can customize.
Conclusion
Cheesy Garlic Chicken Wraps are one of those recipes that feel both indulgent and simple — the kind of seasonal comfort food you’ll reach for when the days get cooler or when you want a reliable, satisfying dinner. They come together fast, are endlessly adaptable (from roasted versus boiled chicken to creative sauces and toppings), and they store and freeze well for busy weeks. If you’re sourcing ideas or want to compare variations, this recipe on Cheesy Garlic Chicken Wraps – Cooked & Loved is a lovely companion, and for another flavorful take, try this version from Cheesy Chicken Wraps | Spicedblog. I hope you give these wraps a try — warm one up, gather your favorite toppings, and share it with someone you love. If you make them, please come back and tell me which combo you loved most!
Cheesy Garlic Chicken Wraps
Ingredients
Method
- In a skillet, heat olive oil over medium heat. Add minced garlic and sauté until fragrant.
- Add the cooked chicken to the skillet and stir until heated through.
- Sprinkle in the shredded cheese and stir until melted.
- Lay out the tortillas and fill each with the cheesy chicken mixture.
- Add any optional toppings if desired.
- Wrap tightly and serve warm.